How to Make a Real Estate Tour Video That Converts: Expert Guide (2026)
How to film and edit real estate tour videos that keep buyers watching. Includes room-by-room script template, production checklist, AI vs filmed comparison, and common mistakes to avoid.
A real estate tour video done well gives remote buyers a genuine sense of a property’s flow, scale, and feel that still photos cannot replicate. Done poorly — shaky footage, poor lighting, no structure — it can actively reduce buyer confidence.
This guide covers everything you need to produce tour videos that hold attention and drive showing requests: room sequence, script template, production checklist, AI vs filmed comparison, and the mistakes that sink otherwise good videos.
Why Tour Videos Drive More Enquiries Than Photos Alone
A listing with video receives 403% more inquiries than a photo-only listing. The reason is that video answers questions photos cannot:
- Scale and proportion: Photos flatten rooms. Video makes large rooms feel large and small rooms feel livable.
- Flow between spaces: Buyers want to understand how rooms connect. Video shows transitions between kitchen and living, indoor and outdoor, master suite and secondary bedrooms.
- Light and atmosphere: Static photos are taken at the optimal moment. Video shows how light changes across a room and gives a more honest representation.
- Emotional connection: Buyers who watch a tour for 90 seconds spend significantly more time on the listing than those who scroll through 15 photos — and time on listing correlates directly with enquiry rate.
Room-by-Room Script Template
Use this for AI voiceover input or to guide your own narration when filming.

Entrance
“Welcome to [Address]. From the moment you arrive, [key first impression — curb appeal, established garden, double-width driveway, secure parking, etc.]. Step inside and you’re met with [impression of entry — spacious hallway, soaring ceilings, natural light flooding in, etc.].”
Main Living / Dining
“The heart of the home is this [description — open-plan, generous, light-filled, etc.] living and dining space. [Key feature 1 — bi-fold doors to outdoor entertaining, feature fireplace, high ceilings, fresh floors, etc.]. There’s room here for [specific life use — family movie nights, dinner parties, casual morning coffees, etc.].”
Kitchen
“The kitchen [description — galley, island, butler’s pantry, etc.] is [condition/style — recently updated, immaculate, chef-grade, etc.]. Highlights include [appliance or feature 1], [appliance or feature 2], and [storage detail or layout feature]. A [breakfast bar / casual dining nook] keeps family life connected.”
Master Bedroom
“Retreat to the master bedroom: [size/mood — generous, tranquil, a true sanctuary, etc.]. [Key feature — walk-in wardrobe, ensuite access, tree-lined outlook, etc.]. You’ll also find [ensuite detail or built-ins or natural light feature].”
Secondary Bedrooms / Bathrooms
“Bedrooms [X] and [X] are [description — well-proportioned, versatile, light-filled, etc.] — ideal as [use case — kids’ rooms, guest rooms, a home office, etc.]. The [main / family] bathroom serves the secondary rooms, with [key feature — bath, separate shower, storage, dual vanity, etc.].”
Outdoor / Yard
“Outside, the [deck / alfresco / lawn / courtyard] extends the living space naturally. [Key feature — covered entertaining, established fruit trees, low-maintenance garden, pool, fire pit, etc.]. This is where [lifestyle moment — summer evenings, weekend barbecues, the kids’ playground, etc.] happens.”
Close
“[Property] is listed at [price]. Inspect by appointment — contact details are in the description. We look forward to showing you through.”
Production Checklist
Pre-shoot (before filming or ordering photos for AI)
- All lights on, all ceiling fans off
- All blinds/curtains fully open for maximum natural light
- Surfaces clear of personal items (toothbrushes, fridge magnets, personal photos)
- Toilet lids down in all bathrooms
- Car removed from driveway
- Bins out of frame
- Garden edges trimmed, no visible hoses or tools
- Staging complete (or virtual staging planned)
Filming a live tour
- Gimbal or tripod — no handheld footage
- Shoot during peak natural light (typically 10am–3pm)
- Start each room from the doorway, then move inward
- Shoot wide angles for establishing shots, tight angles for details
- Capture at least one exterior front and one exterior rear shot
- Capture transition shots between key spaces (kitchen to outdoor, entry to living)
- Record narration separately if possible (room echo affects in-room audio)
Post-production
- Music selected and licensed
- Key stats added as text overlays (address, beds, baths, price, agent contact)
- Call to action added at end
- 16:9 export for MLS and website
- 9:16 export for Reels and TikTok
- Captions/subtitles added (platform auto-caption or SRT file)
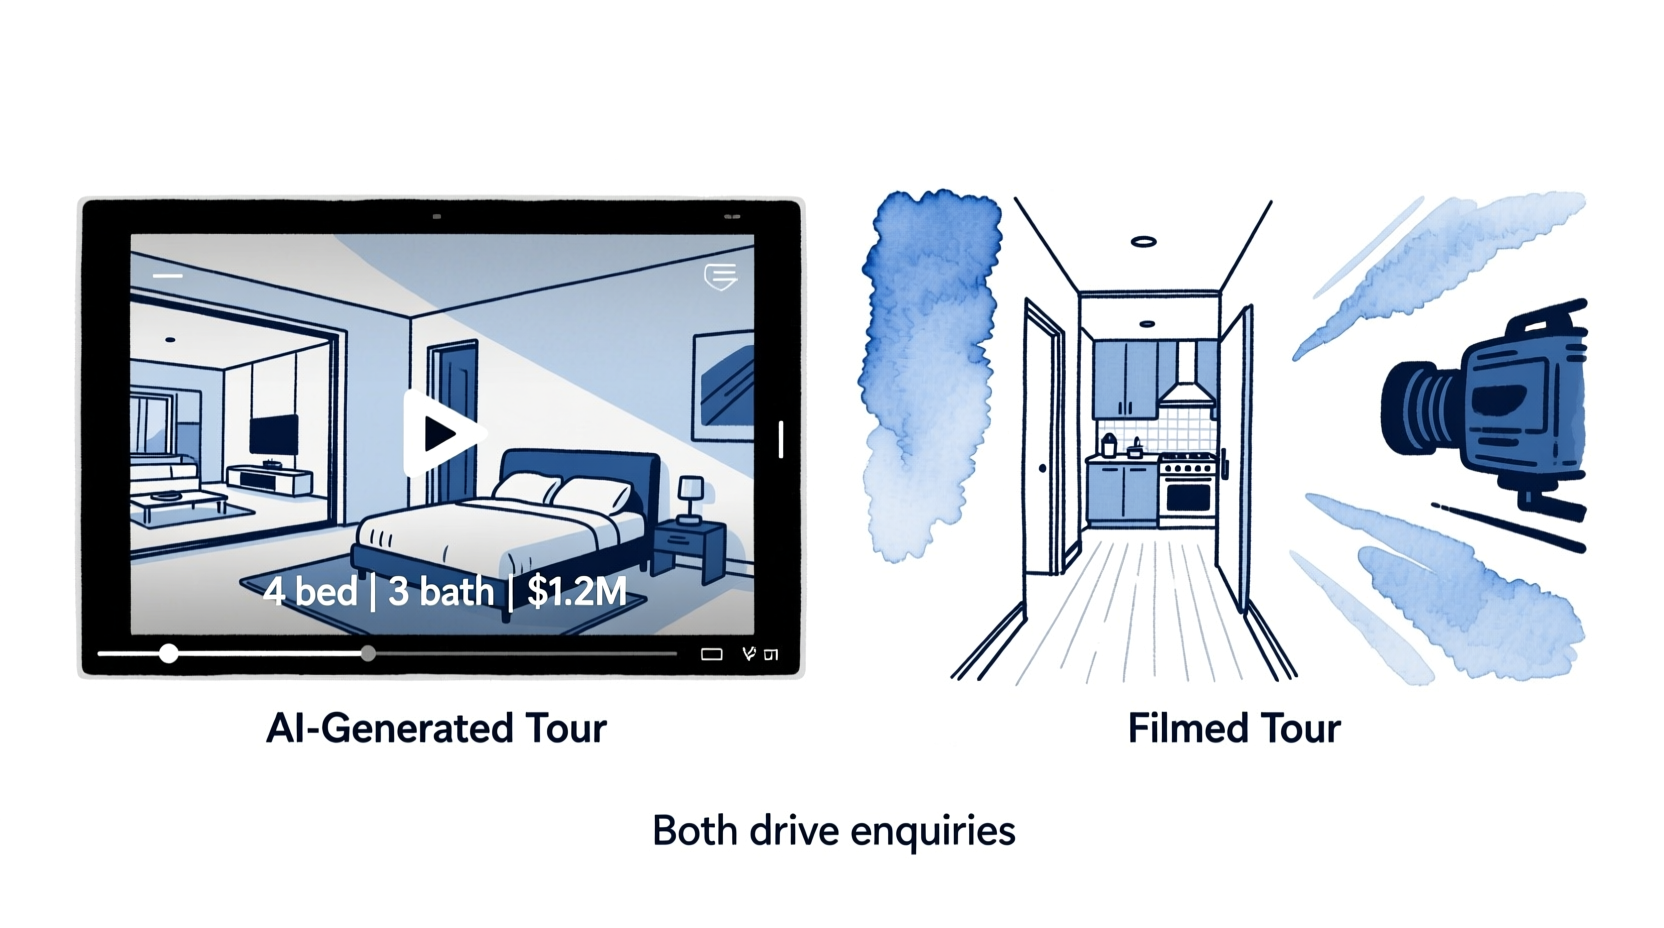
AI Tour Video vs Filmed Tour Video: Which Is Better?
| Factor | AI Photo-Based Tour | Filmed Tour |
|---|---|---|
| Time to produce | 10–20 minutes | 2–6 hours (filming + editing) |
| Equipment needed | None (works from listing photos) | Smartphone + gimbal minimum |
| Quality ceiling | High (limited by photo quality) | Higher (captures movement, light) |
| Shows room proportions | Good | Better |
| Suitable for empty properties | Yes (with virtual staging) | Less effective |
| Cost per listing | $0–$19/mo subscription | 3–6 hours editing time |
| Best for | All standard residential | Luxury, unique architecture, lifestyle properties |
The practical recommendation: Use AI-generated tours as your default for all listings. Film walkthroughs for luxury listings (typically $1.5M+) or properties where spatial flow is a key selling point — open-plan living, unusual architecture, or large land with multiple structures.
Common Tour Video Mistakes (and How to Avoid Them)
1. Starting with a title card or agent logo. Viewers decide in the first 2 seconds whether to keep watching. Start with your best shot — the hero exterior or most impressive interior view.
2. Including every room regardless of appeal. A small, dark utility room adds nothing. Skip rooms that don’t contribute to the buyer’s emotional journey. Quality over completeness.
3. Filming without stabilization. Shaky footage is the number one quality issue with self-filmed tours. A $100 gimbal eliminates it entirely.
4. Ignoring room preparation. Personal items, toothbrushes, fridge photos, and visible clutter remain visible in tour video. Run through the pre-shoot checklist before any filming.
5. No call to action. Every tour video should end with a clear next step: “Book an inspection — link in bio,” “DM for the information pack,” or “[phone number] to arrange a private viewing.” Views without CTAs convert to zero enquiries.
6. Skipping the outdoor space. Outdoor and lifestyle areas are increasingly important to buyers. Even a small courtyard or balcony deserves its own moment in the tour.
7. Wrong aspect ratio for the platform. Posting a landscape tour video to Reels loses the composition in cropping. Export native 9:16 for all vertical platforms.
Key Takeaways
- Tour videos showing room-to-room flow generate more enquiries than still photos because they answer spatial questions photos cannot
- Use the room sequence template (exterior → entry → living → kitchen → bedrooms → outdoor → close) for consistent, logical flow
- Run the pre-shoot checklist before filming or ordering photos — preparation errors are visible on screen
- AI-generated tour videos work well for most listings; filmed tours add value for luxury properties
- Every tour video needs a call to action to convert views into enquiries
Create a tour video from your listing photos in minutes. BetterSpace’s free plan includes one AI tour video per month — no filming, no editing.
Related reading
Frequently asked questions
- A real estate tour video should include: an exterior opening shot (front of home, street view), a logical interior room sequence (entrance, main living areas, kitchen, bedrooms, bathrooms, standout features), any outdoor or lifestyle spaces (yard, pool, balcony), and a brief neighborhood context shot. The video should end with a clear call to action — contact details, a showing booking link, or 'link in bio.' Key property stats (beds, baths, price) should appear as text overlays.
- Optimal property tour video length depends on the platform: 15–45 seconds for TikTok and Reels (highlight reel only), 60–90 seconds for Instagram Feed and Facebook, 2–4 minutes for YouTube and website/MLS embeds. For most listings, a 90-second tour is the practical sweet spot — long enough to show the key rooms, short enough to hold attention. Longer videos (3–5 min) are appropriate for luxury properties where buyers want full room-by-room coverage.
- No. A recent iPhone or Android smartphone with a quality camera produces footage sufficient for listing videos and social content. To improve quality without a professional camera: use a phone gimbal ($80–$180) for smooth footage, shoot during daytime when natural light is best, open all blinds and turn on all lights before filming, and shoot horizontally (16:9) rather than vertically for the main tour. The most common issues with phone footage — shakiness and poor lighting — are equipment problems, not camera problems.
- The standard logical room order for a real estate tour video is: exterior front, entrance/foyer, main living room, dining area, kitchen, outdoor entertaining or backyard, master bedroom, master bathroom, secondary bedrooms, secondary bathrooms, any standout feature (home office, media room, pool), exterior rear. This mirrors how a buyer would walk through the property in person and creates a natural flow.
- Both approaches work well and serve different needs. AI tools like BetterSpace generate tour-style videos from still photos with motion effects — no filming required, 10–20 minutes total. Filmed tours provide a more authentic walkthrough feel and can capture movement, light, and proportions that still photos miss. For most standard listings, AI photo-based tours deliver excellent results at far lower time cost. For luxury listings or properties where spatial flow is a key selling point, filming adds genuine value.
- For an empty property, use AI virtual staging before creating the tour video. BetterSpace allows you to virtually furnish each room, then generate a tour video from the staged photos. This produces a substantially more engaging tour than an empty-room walkthrough and helps buyers visualize the space as a home rather than a vacant shell.